
Last updated November 15, 2026
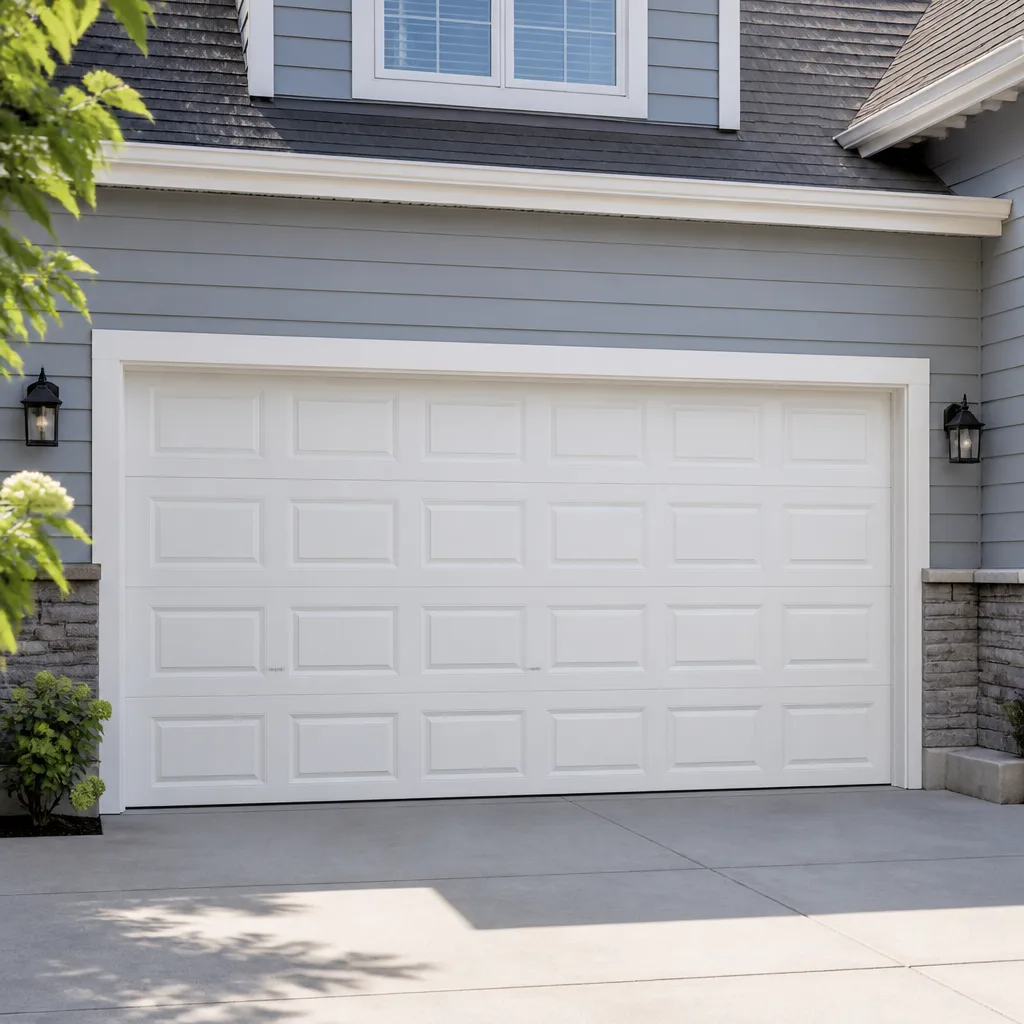 Raised-panel steel
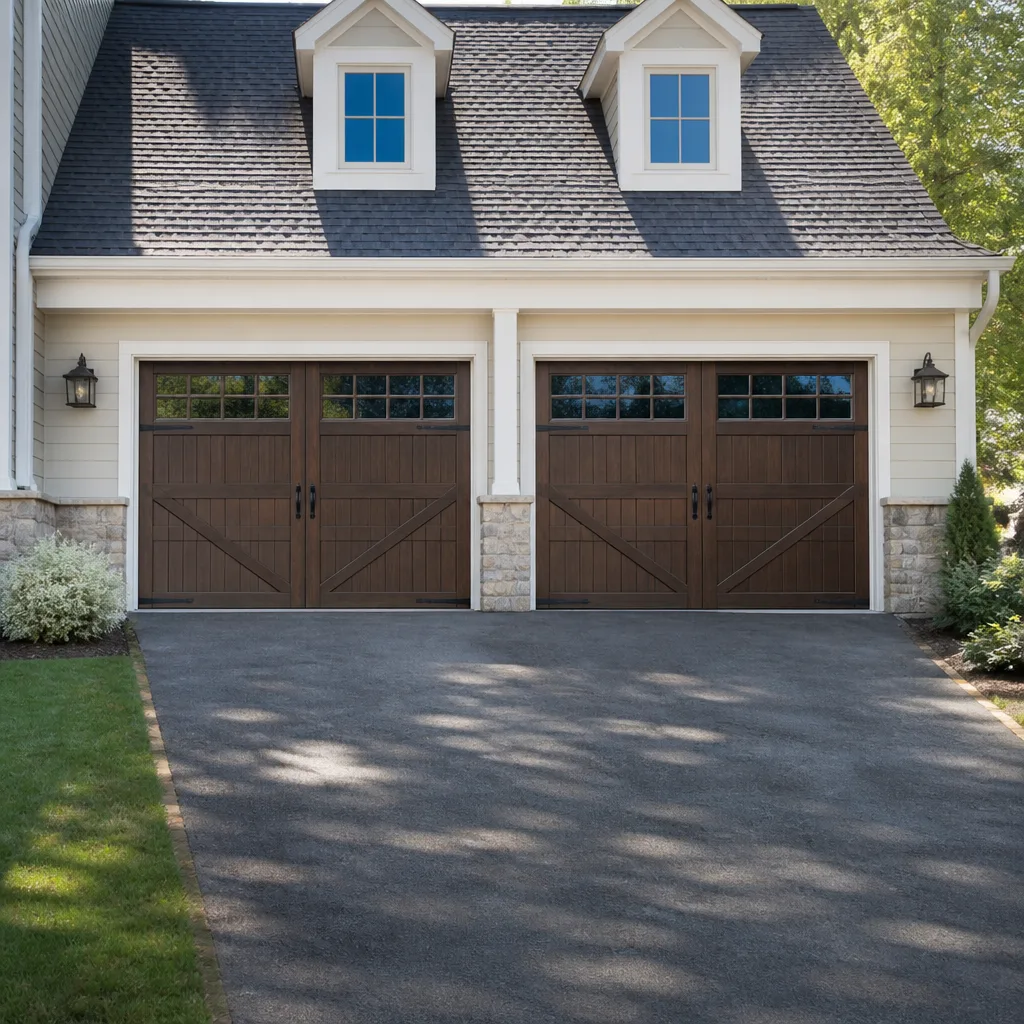 Carriage house
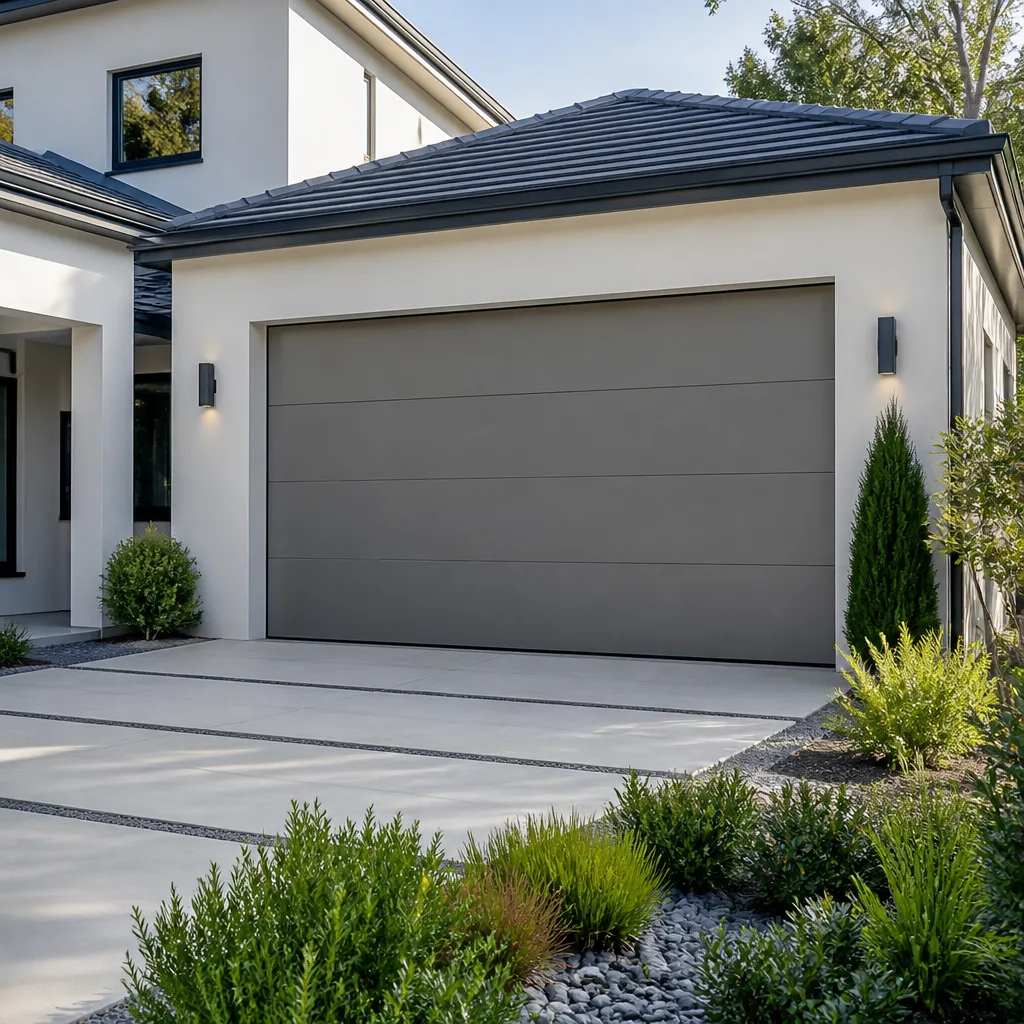 Modern flush
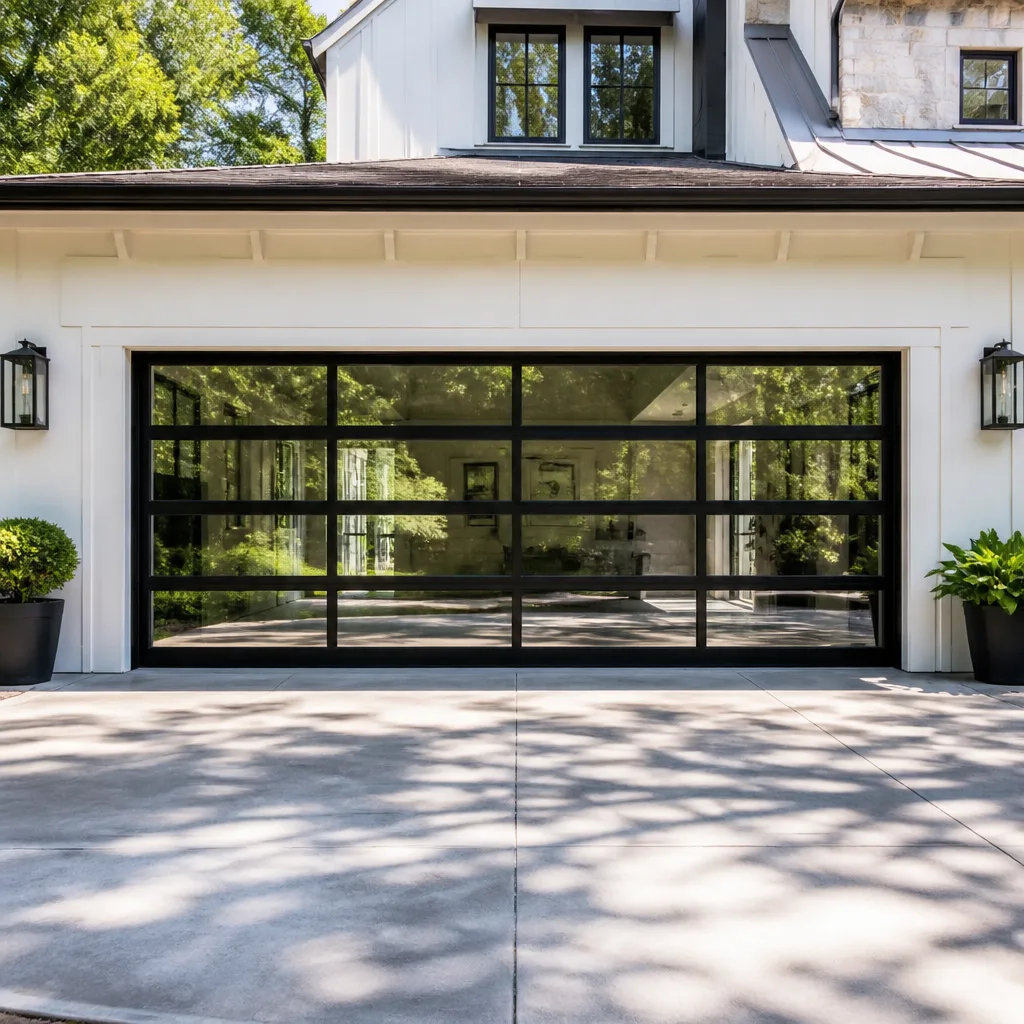 Full-view glass
 LiftMaster openers
 Chamberlain openers
Full 25-point door and opener safety check with every visit - springs, cables, rollers, tracks, and your LiftMaster or Chamberlain opener included
You get a price before we start. It does not change when the pro arrives.
Get your free estimateGarage Door Repair Troubleshooting in Killeen: Common Problems and How to Fix Them
The number-one reason a garage door repair call costs more than it should: the homeowner already tried something. Most doors that “won’t open” get misdiagnosed as opener problems when the real failure is a snapped spring, a jumped cable, or a safety sensor knocked out of alignment. Guessing at symptoms instead of reading the system is what turns a simple fix into a bigger one. This guide walks you through a component-by-component elimination process for Killeen homeowners, so you can identify what’s actually wrong before you touch anything.
Styles & brands we work with
- Raised-panel steel
- Carriage house
- Modern flush
- Full-view glass
- LiftMaster openers
- Chamberlain openers
Quick Answer
Garage door troubleshooting in Killeen starts with three questions: does the opener run but the door doesn’t move, does the door move partway and stop, or is the door visibly crooked or off its track? A running opener with a still door usually points to a spring or cable failure, a door that reverses immediately usually points to a safety sensor or travel limit problem, and a crooked or stuck door usually points to a track or roller issue. Only sensor alignment and a few external adjustments are safe to check yourself. Springs, cables, and anything involving the opener’s electrical components should go to a trained technician.
Table of Contents
- How a Garage Door System Fails: The Four Subsystems
- Signs Your Door Is About to Fail
- Spring, Cable, or Opener? Reading the Failure Without Tools
- How Central Texas Heat and Humidity Accelerate Specific Failures
- The Danger Hierarchy: What You Can Adjust and What You Can’t
- The Two-Part Sensor Test That Eliminates Most “Opener Broken” Calls
- What Common Opener Error Codes Actually Mean
- Repair or Replace? Reading the Honest Signal
- Common Mistakes to Avoid
- When to Call a Professional
- Frequently Asked Questions
How a Garage Door System Fails: The Four Subsystems
A garage door isn’t one machine; it’s four systems working together. When a door “stops working,” the failure lives in exactly one of them, and identifying which one is the whole game. In our experience, roughly three out of four calls come down to a problem in the counterbalance system, and the rest split between the opener, the track and rollers, and the safety sensors. Understanding the four subsystems makes the rest of this guide click.
The four subsystems are:
- Balance (springs and cables). Counterbalances the door’s weight so the opener only has to nudge it. When a spring breaks or a cable slips, the door becomes functionally unmovable.
- Structure (tracks, rollers, hinges, panels). Keeps the door in its path. A bent track or worn roller makes the door bind, squeal, or come off its rail.
- Drive (opener motor, belt or chain, logic board). Pushes the door along the track once balance is handled. The opener is almost never the actual source of a door-not-opening problem.
- Safety (photo-eye sensors). Tells the opener “clear to close.” A misaligned or dirty sensor will reverse the door every time, no matter how healthy everything else is.
Here in Killeen, all four subsystems take a beating. A door that sits in direct afternoon sun for most of the year ages differently than one in shade, and we’ve learned to check the balance system first on most any Central Texas door that “just stopped.” That instinct saves homeowners the cost of a new opener they didn’t need.
Signs Your Door Is About to Fail
Most garage door failures announce themselves a week or two in advance. Catching the early signals is the cheapest repair you’ll ever make. The signs below are what we listen and look for on a walkaround, and any homeowner can check them without tools.
- A visible gap in the torsion spring. Torsion springs (the horizontal coil mounted above the door) often show a small gap in the coil when they snap. Extension springs (running alongside the horizontal tracks) stretch unevenly or visibly kink when they’re near failure.
- Grinding, squealing, or popping when the door moves. Dry rollers or worn hinges make noise. A loud pop followed by sudden silence is the sound of a spring breaking.
- Slow or uneven travel. If the door lifts fine on one side and lags on the other, the balance system is working unevenly.
- A door that reverses for no reason. Nine times out of ten this is a safety sensor, not a failed opener. We cover the test in detail below.
- Visible rust or stiffness at the bottom seal. In Killeen’s humidity, bottom rubber seals harden faster than in dry climates. A stiff, curling seal creates a gap that lets heat and debris under the door and can pull away from the panel.
- The opener light blinking or the motor running longer than usual. Both mean the opener is working harder than it should, usually because the door’s balance is off.
If two or more of these show up together, don’t wait for a total failure. A door under balanced load will eventually do damage that a pre-failure inspection would have avoided.
Spring, Cable, or Opener? Reading the Failure Without Tools
This is the section most homeowners need. You can tell the difference between a spring failure, cable failure, and opener failure with your eyes and ears, standing safely out of the door’s path, and no tools at all. Here’s the elimination sequence we run through on every diagnostic call.
- Listen to the opener. Press the wall button and listen. If the motor hums or runs and the door doesn’t move, the opener is fine and the problem is downstream (spring, cable, or track). If the opener is silent, clickless, and the light doesn’t come on, the problem is electrical or in the logic board.
- Look up at the springs. Step back and visually check the torsion spring above the door. A visible gap in the coil, or a spring sitting loose and dangling, means the spring has failed. For extension springs, look for a stretched, tangled, or separated spring alongside the tracks.
- Look at the cables. The two thin steel cables run from the bottom corners of the door up to the spring system. If either cable is slack, coiled loosely at the bottom, or visibly broken, the cable has failed. A door hanging crooked on one side with a slack cable is a cable failure, not an opener problem.
- Listen for a heavy “boom” and try to visually confirm. A single loud snap followed by the door being dead in the air is the classic spring failure sound. That boom is the spring releasing tension, not the opener.
- Check the door rail and hinges. If the door runs partway then stops, look for a visibly bowed track or a roller popped out of the channel. Those are structural, not balance, failures.
Once you’ve narrowed it down this way, you’ll know whether you’re looking at a mechanical failure (springs or cables), a structural failure (tracks and rollers), or an electrical one (opener). That single piece of clarity is worth more than any amount of guessing.
How Central Texas Heat and Humidity Accelerate Specific Failures
Killeen’s climate runs doors differently than most places in the country. Long summers, sustained highs that push metal and rubber past their comfort zone, and heavy Gulf moisture for large parts of the year wear specific components faster. This isn’t a general caution; it’s a real determinant of what breaks and when.
Here’s what we look for first on a Killeen door:
- Nylon rollers. These are the first to fatigue in sustained heat. Nylon gets brittle, develops flat spots, and starts to squeal or skip in the track. Rollers that would last years in mild climates often need replacement sooner here.
- Torsion springs. The heat and the number of cycles the door runs each day shorten spring life. A door used heavily (family cars in and out several times daily) cycles faster than one used sparingly, and heat cycles add to that wear. Spring life is measured in cycles, not calendar years, so heavy daily use is the real accelerator.
- Bottom rubber seals. Killeen humidity hardens and curls the rubber seal faster than dry air would. Once it curls away from the door, it stops sealing against heat and lets water and debris in.
- Lubrication intervals. Rollers, hinges, and tracks need lubricating more often in dusty, hot conditions than the same door would in a temperate climate. A garage that faces afternoon sun heats the whole system and dries out lubricant faster.
- Wood and steel panel expansion. Metal panels expand slightly in heat and contract at night. Over a full season this can loosen hinges and panel hardware. A quick visual check of hardware torque once a year catches most of these before they become a problem.
None of these changes what a repair looks like: they change which component likely needs attention first. If your door is more than a few years old and has never been lubricated, that’s the cheapest preventive step you can take.
The Danger Hierarchy: What You Can Adjust and What You Can’t
Not all garage door troubleshooting is safe to do yourself, and getting this wrong is genuinely dangerous. Springs and cables carry huge stored tension. A torsion spring under load can cause serious injury if released improperly, and a snapped cable whipping loose is just as bad. We take this seriously, and any honest technician will tell you the same thing: some failures you diagnose and hand off.
Here’s the practical hierarchy:
Safe to check yourself
- Visual inspection of springs and cables from a safe distance.
- Checking that the door’s path is clear of debris, toys, or stored items.
- Wiping off photo-eye sensor lenses and confirming the sensors are aligned and facing each other.
- Testing the door’s manual release (the emergency pull cord on the opener rail) to confirm it works.
- Listening and observing the door’s travel path.
Call a technician
- Any spring replacement or adjustment, torsion or extension.
- Any cable repair, tightening, or replacement.
- Track realignment, especially if the door is off its track.
- Opener logic board, motor, or wiring work.
- Any scenario where the door is hanging crooked or partially off the track.
If you’re unsure which category you’re in, err on the side of the second. Nothing on the first list is worth putting yourself in the path of a loaded spring.
The Two-Part Sensor Test That Eliminates “Opener Broken” Calls
If we had to pick one diagnostic test that resolves the most “my opener is broken” calls, it’s the two-part safety sensor test. Roughly one in three garage door calls we take could have been solved by a homeowner in under five minutes with this check. It requires no tools.
- Clear the path and press close. Close the door from the wall button. Watch the door go all the way down. If it reverses, partway before hitting the floor, that’s a sensor signal, not an opener failure.
- Check the two photo eyes at the bottom of the tracks. Each sensor has a small LED. On most systems one LED should be solid and steady, and the other should flicker when the beam is broken. If neither LED is lit, or the light is constantly flickering without anything in the path, the sensors need alignment or the wiring needs checking. Wipe the lenses clean first, since a film of dust from the Killeen air alone is enough to interrupt the beam.
If that basic test doesn’t fix it, the sensor alignment needs adjustment. Loosen the small wingnut on the sensor bracket, aim the sensor directly at its partner on the other side of the door, and tighten. If the LED doesn’t go steady, the sensor itself may need replacing. Either way, you now know it’s not the opener.
What Common Opener Error Codes Actually Mean
Modern openers from LiftMaster, Chamberlain, Craftsman, Genie, and Raynor are designed to flash a specific error code when something’s wrong. Learning to read those codes turns a mystery into a diagnosis. Every opener model has a slightly different table, so the exact flash pattern varies, but the meaning of the categories does not.
The plain-language translation:
- Door reverses for no reason. Safety sensors are misaligned, dirty, or the wiring to one is loose. This is the most common code you’ll ever see.
- Door doesn’t close at all. Usually a sensor with a broken beam, or a failing travel limit switch. The opener refuses to close without a clear sensor signal.
- Door stops and reverses at the same point in travel. The up or down travel limit needs a small adjustment, or the door is binding on the track at that point.
- Opener runs but door doesn’t move. This is a balance failure, not an opener code. The opener is doing its job; the door just isn’t responding. Springs or cables.
- Opener clicks but doesn’t run. The logic board may.be failing, or the capacitor may be at end of life. This one needs a technician.
If your opener has a wall panel with an LED display, note the code number and look it up in the manual or on the manufacturer’s site. On older Craftsman and Genie units, the manual is almost always the fastest path to the exact meaning, since the flash patterns changed across models.
Repair or Replace? Reading the Honest Signal
The question we hear most is whether a failing door is worth repairing or whether it’s time for a new one. The honest answer depends on which of the four subsystems is failing and how much of the door’s structure is intact. A door with a broken spring and intact panels, tracks, and hardware is a repair. A door with a bent track, split panels, and a failing opener on top of it is usually a replacement conversation.
Here’s how we think about it:
- Repair usually wins when the door’s panels are structurally sound, the track is not bent, and the failure is in the balance system (springs, cables) or a discrete opener component (sensor, limit switch, button).
- Replacement becomes worth considering when the door has visible panel damage, tracks that can’t be reliably realigned, and an opener that’s failed more than once. In that case, one new system is often more sensible than three separate repairs.
- The opener alone is rarely a reason to replace a door. Opener technology moves faster than door technology. A new LiftMaster on an older Clopay door is a common, sensible pairing.
We tell homeowners which way the math actually points. If a repair buys you several more years for a fraction of a replacement cost, that’s the recommendation. If the honest answer is “replace,” you’ll hear that too, with the reasoning behind it.
Common Mistakes to Avoid
- Pulling the manual release while the door is under load. If the opener has failed and the door is stuck partway, pulling the red cord with the door in that position can drop it. Pull it only when the door is fully closed and balanced.
- Greasing the torsion spring or the torsion bar. The coil spring should not be lubricated; doing so attracts dust and gumming. Lubricate the rollers, hinges, and the track’s roller channels instead.
- Assuming an opener that runs but doesn’t move the door needs replacing. Nine times out of ten that door has a failed spring, and a new opener will fail the same way within days. Diagnose the balance system first.
- Adjusting the opener’s force setting to compensate for a binding door. Increasing force to overcome track friction puts the opener motor and the door’s panels under load they weren’t built for. Fix the friction.
- Overlooking the manual release after a long power outage. After a storm knocks out power in Killeen, it’s easy to forget the door was left in manual mode. If the opener runs but the door doesn’t move, check the release before assuming a mechanical failure.
- Ignoring a slow-dragging bottom seal. A curling rubber seal isn’t just a visual flaw; it lets humid air under the door, which accelerates rust on the bottom panel and hinge plates over time.
- Waiting on the sensor lenses after a dusty week. Central Texas wind and dry spells deposit dust on the sensors fast. Wiping them is the fastest, free-fix on the list, and it prevents most false “opener broken” calls.
When to Call a Professional
Call a technician the moment any of these appear: a snapped spring or a slack cable; a door that’s hanging crooked or visibly off its track; an opener that clicks, hums, or fails to respond to the wall button after confirming the wall outlet works and the release isn’t pulled; a sensor that won’t realign after cleaning; or a door that binds halfway and stops. These are the failures where the stored energy in the system or the electronics warrant trained hands.
Archer Garage Door Repair offers free estimates in Killeen; call (833) 719-3738. We answer 24/7. Fast dispatch from 7am to 7pm, Sunday through Friday. Our technicians have up to 8 years of experience, and garage doors are all we do. We service LiftMaster, Chamberlain, Genie, Clopay, Amarr, Wayne Dalton, Craftsman, and Raynor systems across Killeen.
Frequently Asked Questions
A running opener with a door that doesn’t move almost always means a failed torsion spring or a jumped cable, not a broken opener. The opener is doing its job: it’s pushing the door, and the balance system is what’s failing. Stop pressing the button and call a technician, since a door under a dead spring puts extra strain on the opener with every attempt.
Typical garage door repair costs in Killeen depend on which component failed: springs, cables, rollers, sensors, and opener components all sit in different price bands, and the written estimate we give you sets the final price. We quote the job in writing before any work starts, so there are no surprises. Call (833) 719-3738 for a free estimate on your door.
For most repair calls, yes. We answer 24/7, and fast dispatch from 7am to 7pm runs Sunday through Friday, so a call made during those hours usually gets a technician the same day. Call (833) 719-3738 and we’ll give you the next available slot.
No, usually not. A door that reverses on its own is almost always a safety sensor issue: misaligned, dirty, or with a loose wire. Complete the two-part sensor test in this guide before assuming the opener needs replacing. If the sensors are clean and aligned and the door still reverses, then the opener’s travel limit or logic board may be involved, and a technician should look at it.
Heat and humidity accelerate spring fatigue. Killeen’s long, hot summers plus heavy moisture for much of the year shorten the life of springs, rollers, and bottom seals compared with milder climates. Spring life is measured in cycles, so a heavily used door loses life sooner regardless of climate, and Killeen’s heat just adds to the wear.
Repair the door when panels are intact, tracks are straight, and the failure is a spring, cable, roller, or opener component. Replace the door when it has panel damage, bent tracks, and a worn opener that would need three repairs to be whole again. For a full-system assessment, we’ll tell you which one actually makes sense for your door. Call (833) 719-3738 for a free estimate.
The Bottom Line
Diagnosing a garage door starts with the three-question elimination process: does the opener run, does the door move at all, and is the door crooked? From there, springs, cables, tracks, and sensors each have a distinct set of symptoms you can identify without tools. What you do about those symptoms is where the danger hierarchy matters. Sensor alignment and visual inspection are yours. Springs, cables, and opener electronics belong to a technician, and the sooner you hand them off, the less damage the door does to itself in the meantime. Once you’ve read this guide, you’ll know whether you’re looking at a repair or a replacement, and whether the honest answer is to call someone.
Written by the team at Archer Garage Door Repair.
See the difference
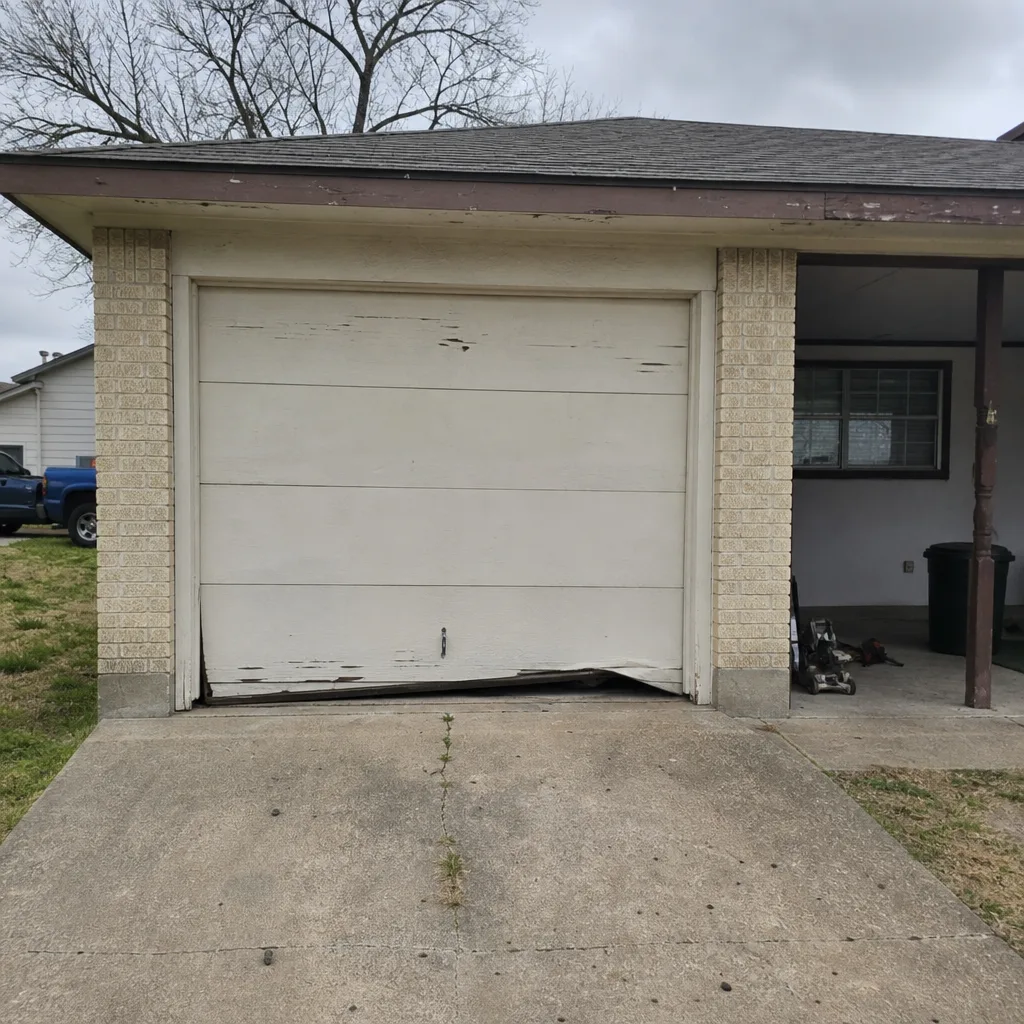 Before
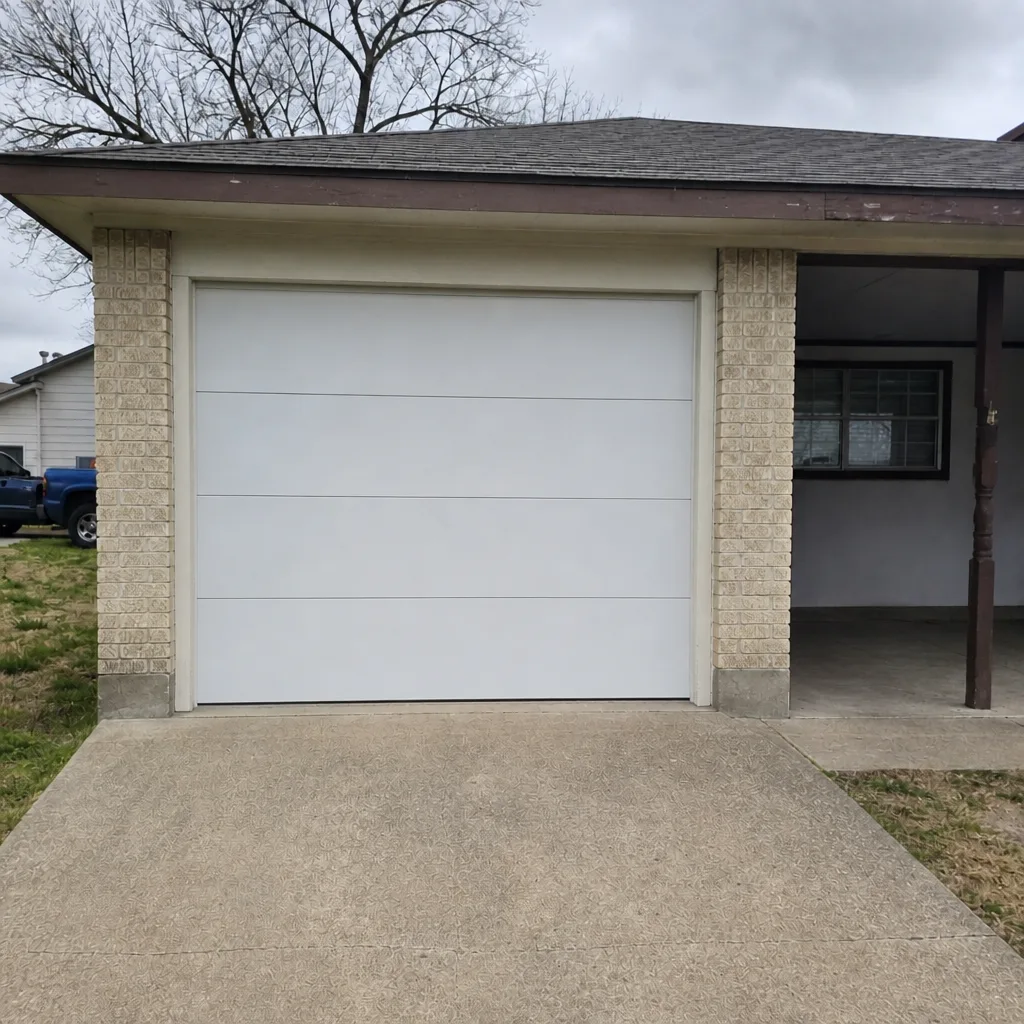 After
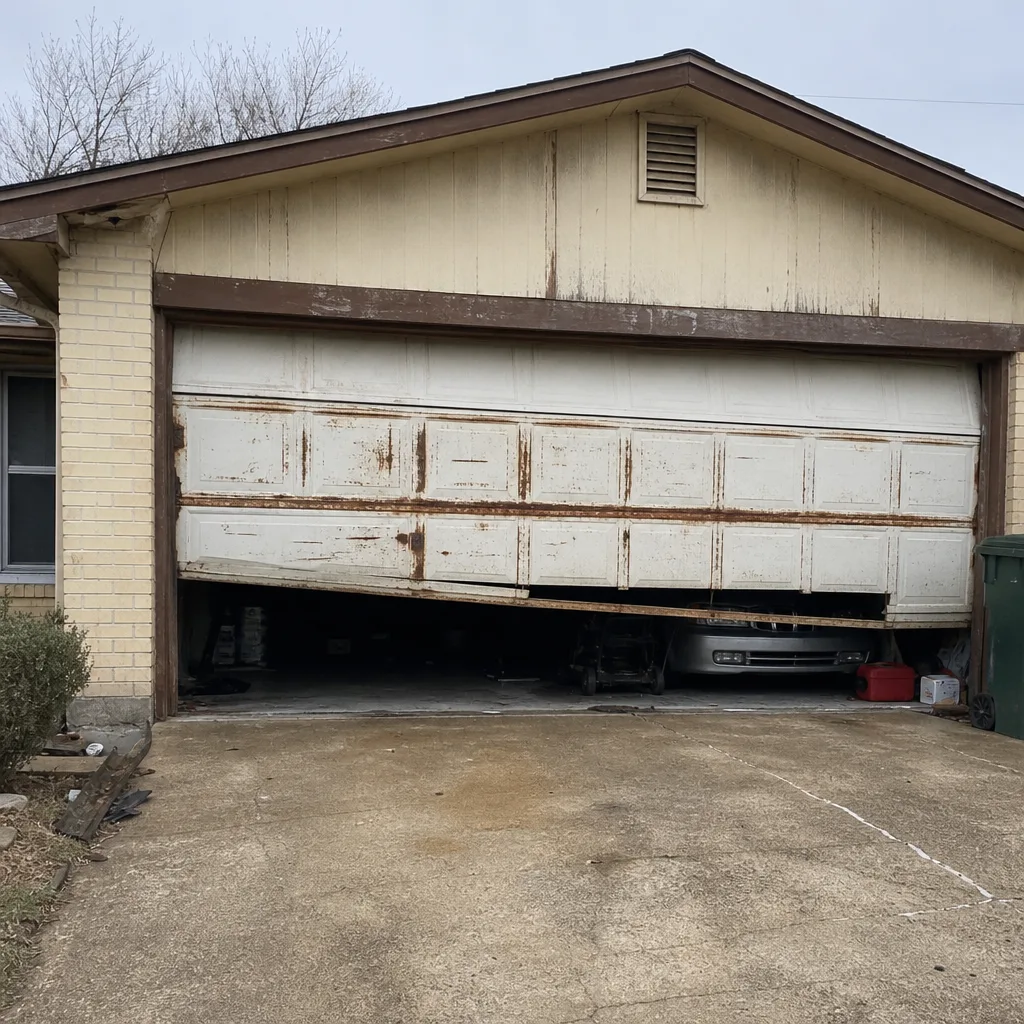 Before
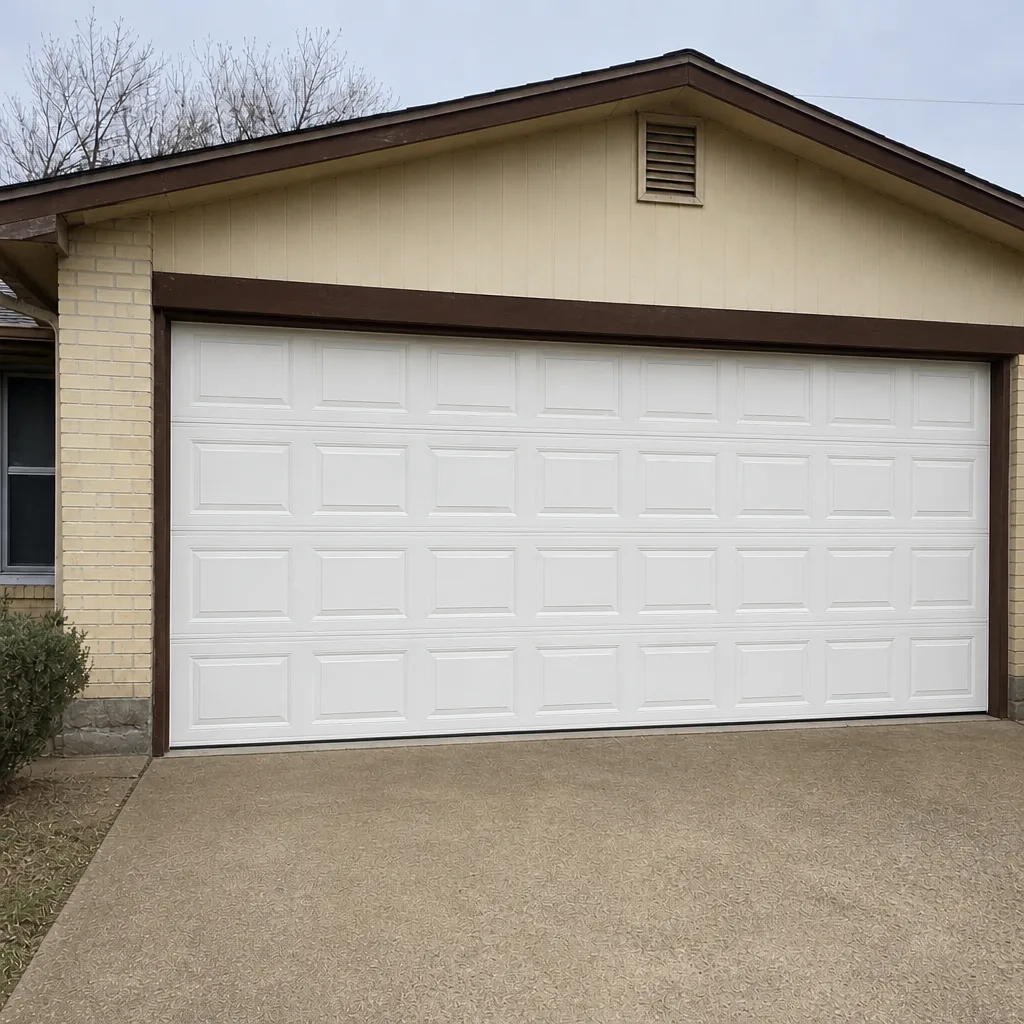 After
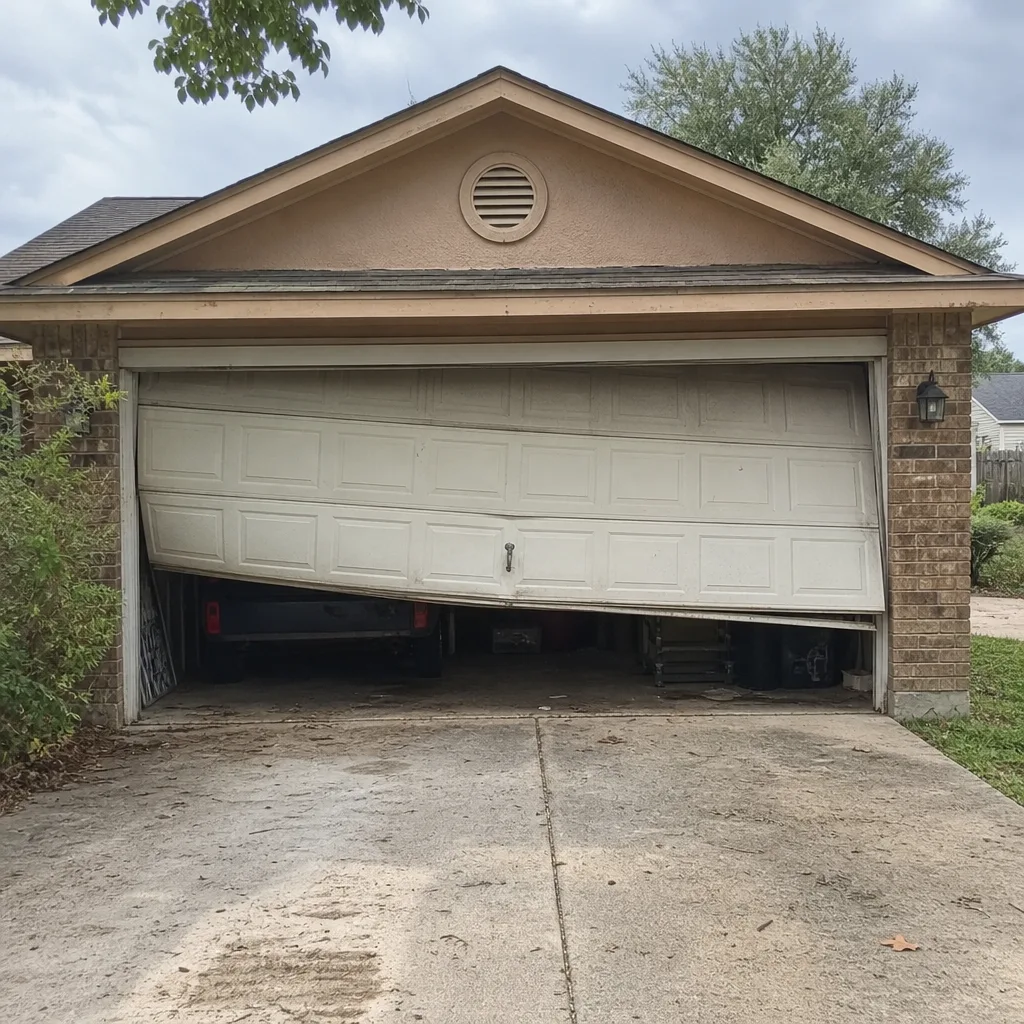 Before
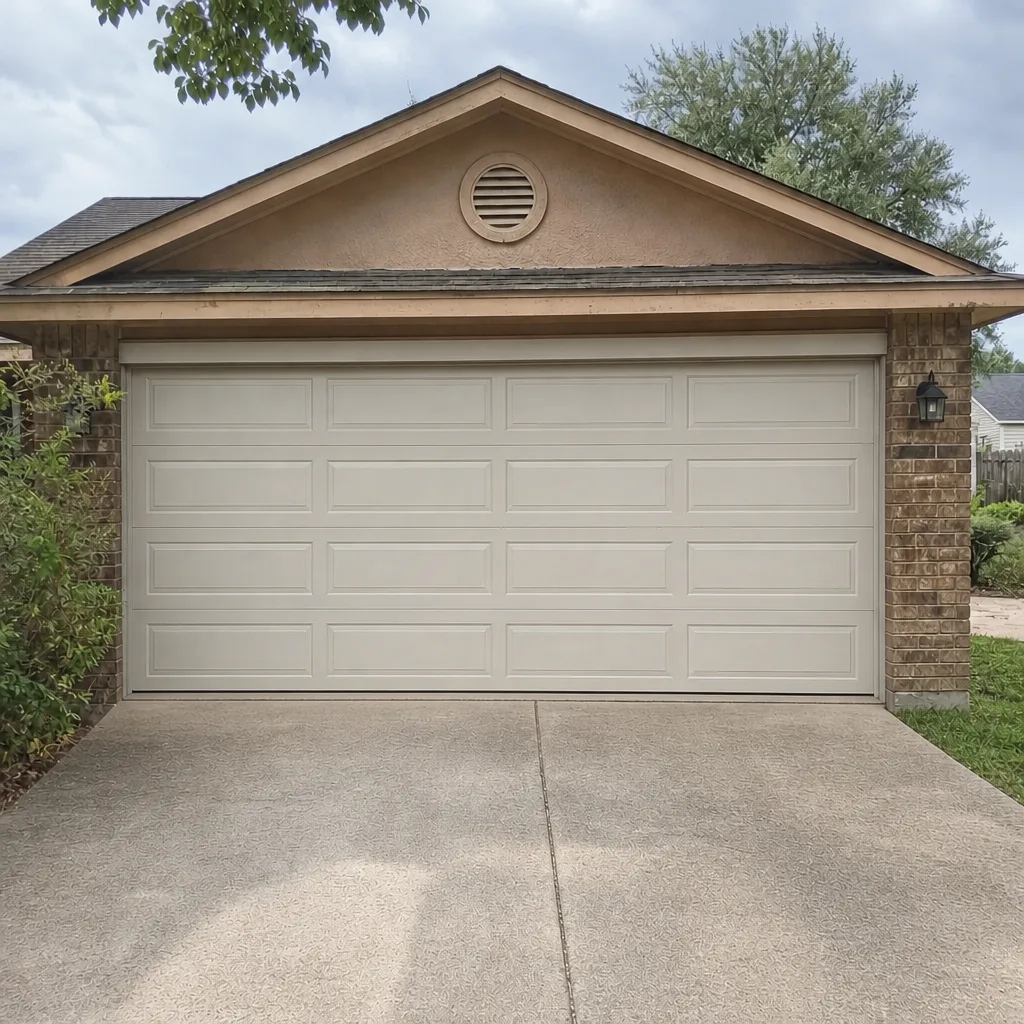 After